Research App Manual

Research App Product Manual

This page explains how Prism Labs our Research App works

Prism Research App

Run body composition assessments on site, at scale.

This manual guides research institutions, study sites, clinical trial teams, and pharmaceutical organizations through access, study setup, participant management, scan capture, and results review.

Recommended operating pattern: create one campaign for each study. If several locations share an account, separate campaigns by study site when that makes day-to-day operations clearer.
Before the visitConfirm account access, camera permission, campaign setup, and the selected unit system.
At check-inFind or create the participant using the approved study identifier.
Before the participant leavesVerify the scan completed successfully and reaches Ready. Allow about four minutes for completion.

01 · Access and organization setup

Sign in and complete first-time organization setup.

Use the account provided by your study administrator. After sign-in, accept the terms and complete Institution Setup if no organization is already associated with the account.

  1. Enter the approved email address and continue through the configured sign-in flow, or use Google sign-in.
  2. Read the privacy and terms notice, select the consent checkbox, and choose Continue.
  3. On the first-time Institution Setup screen, enter the organization’s full Institution Name.
  4. Review the generated prefix and choose Complete Setup.

Institution Setup is skipped when the account is already connected to an institution.

Sign in

Welcome

Login to Prism Research app to continue

Email Address

research.site@example.org
Continue

OR

Google

First-time organization setup

Welcome

Institution Setup

Institution Name

Pharma Research Inc
Generated Prefix: pri

The first letters of the institution name form the prefix used for campaigns.

Complete Setup

02 · Campaigns

Organize assessments by study or location.

A campaign is the workspace that contains the participants and scans for a study. Use a clear naming pattern that your on-site team can recognize quickly.

  1. Open Campaigns and choose Add New Campaign.
  2. Enter the approved study or site name.
  3. Create the campaign, then open it to manage participants.

Naming example: Pharma GLP-1 Study. For a multi-site program, add the site code or city according to the study plan.

Campaign list

Campaigns⚙︎
Pharma GLP-1 Study
Pharma GLP-1 Study · Site 02
Add New Campaign

New campaign

New CampaignCancel   Create

Campaign details

Pharma GLP-1 Study

03 · Participants

Create a participant record with the study identifier.

Each participant record stores the demographics required for body composition assessment and keeps all visits together for longitudinal review.

  1. Open the correct campaign and choose Add New Participant.
  2. Enter a unique participant identifier, then select Gender, Region, and Date of Birth.
  3. Enter the participant’s current Height and Weight using the selected unit system.
  4. Create the record, then open it to view existing scans or begin a new one.

Protect participant privacy: use the identifier assigned by the study. Do not enter a participant name, email address, phone number, or other direct personal identifier.

New ParticipantCancel

Basic information

Participant Identifier PRI-GLP1-014
Gender Female ›
Region North America ›
Date of Birth 06/14/1988 ›

Measurements

Height 5 ft 7 in
Weight 152.4 lb
Create Participant

04 · Start a scan

Begin from the participant’s scan history.

  1. Confirm that the correct participant record is open.
  2. Review the prior scan history and scan creation dates.
  3. Choose Add New Scan.
  4. Allow camera access when prompted. If access was previously denied, enable it in the device settings before continuing.
  5. Follow each on-screen capture instruction in order.

A participant may have multiple scans. Use the same participant record for follow-up visits so the study team can review change over time.

Scans⚙︎   ⏻

PRI-GLP1-014

Sep 18, 2026
10:42 AM
Ready
Aug 21, 2026
9:18 AM
Ready
Add New Scan

05 · Capture sequence

Follow the six capture stages in order.

Keep the area clear, follow the SDK prompts on screen, and let the participant move only when instructed. If the device volume is low, the SDK first asks the operator to raise it.

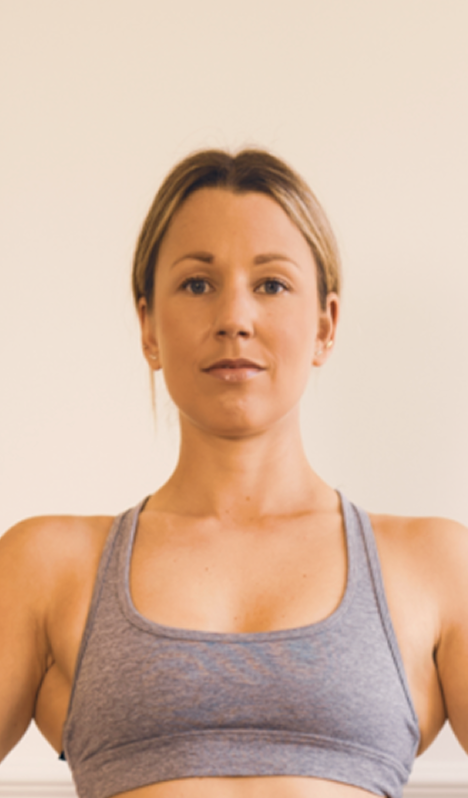
Participant centering her face in the camera1Move face into oval shape

Face scanning

Face the camera directly and move into the oval. Continue when the SDK confirms Face Captured!

SDK phone placement illustration2Device Placement

Level the phone

Position the device waist high, then choose Level Device and follow the tilt guidance until it is level.

SDK full-body positioning illustration3Get In Position

Get into position

Stand where the entire body is visible. Follow the SDK guidance to move closer, farther away, or toward the center.

4Pose

Get into an A pose

Stand with feet shoulder-width apart, extend the arms at the sides, and make fists. Hold the pose.

SDK full-turn illustration5READY · SPIN

Spin

Prepare to make one full turn and wait for the countdown. Turn only when the screen says SPIN.

SDK completion checkmark6Capture Complete!

Review and submit

On Review your scan, inspect the spin preview. Choose Submit my scan, or Try again if the capture is not usable.

Review before submitting: confirm the participant wore tight-fitting clothing, the whole body remained visible throughout the video, and the participant completed a 360-degree spin during the countdown. Choose Try again if any answer is no.
For consistent assessments: use a clear capture area, keep the camera steady, and repeat the same site procedure across participant visits.

06 · Scan status

Follow upload and processing through to Ready.

The Research App shows separate archive-upload and 3D-processing states. Before the participant leaves, confirm the scan progresses successfully to Ready. This can take about four minutes.

Archive upload

Queued

The capture is waiting for archive preparation.

Preparing Archive...

The app is packaging the scan for upload.

Uploading Archive...

The row shows upload progress as a percentage.

Finalizing Upload...

The upload is completing.

Upload Failed

Choose Retry on the scan row. Do not start a replacement scan while a retry is available.

3D processing

Queued for Processing

The upload completed and the scan is waiting to be processed.

Processing 3D Model...

The 3D model and measurements are being prepared.

Ready

The scan can be opened and selected for comparison.

Processing Failed

The scan cannot be opened. Start a new scan if another assessment is required.

07 · Results and comparison

Review a completed assessment and compare study visits.

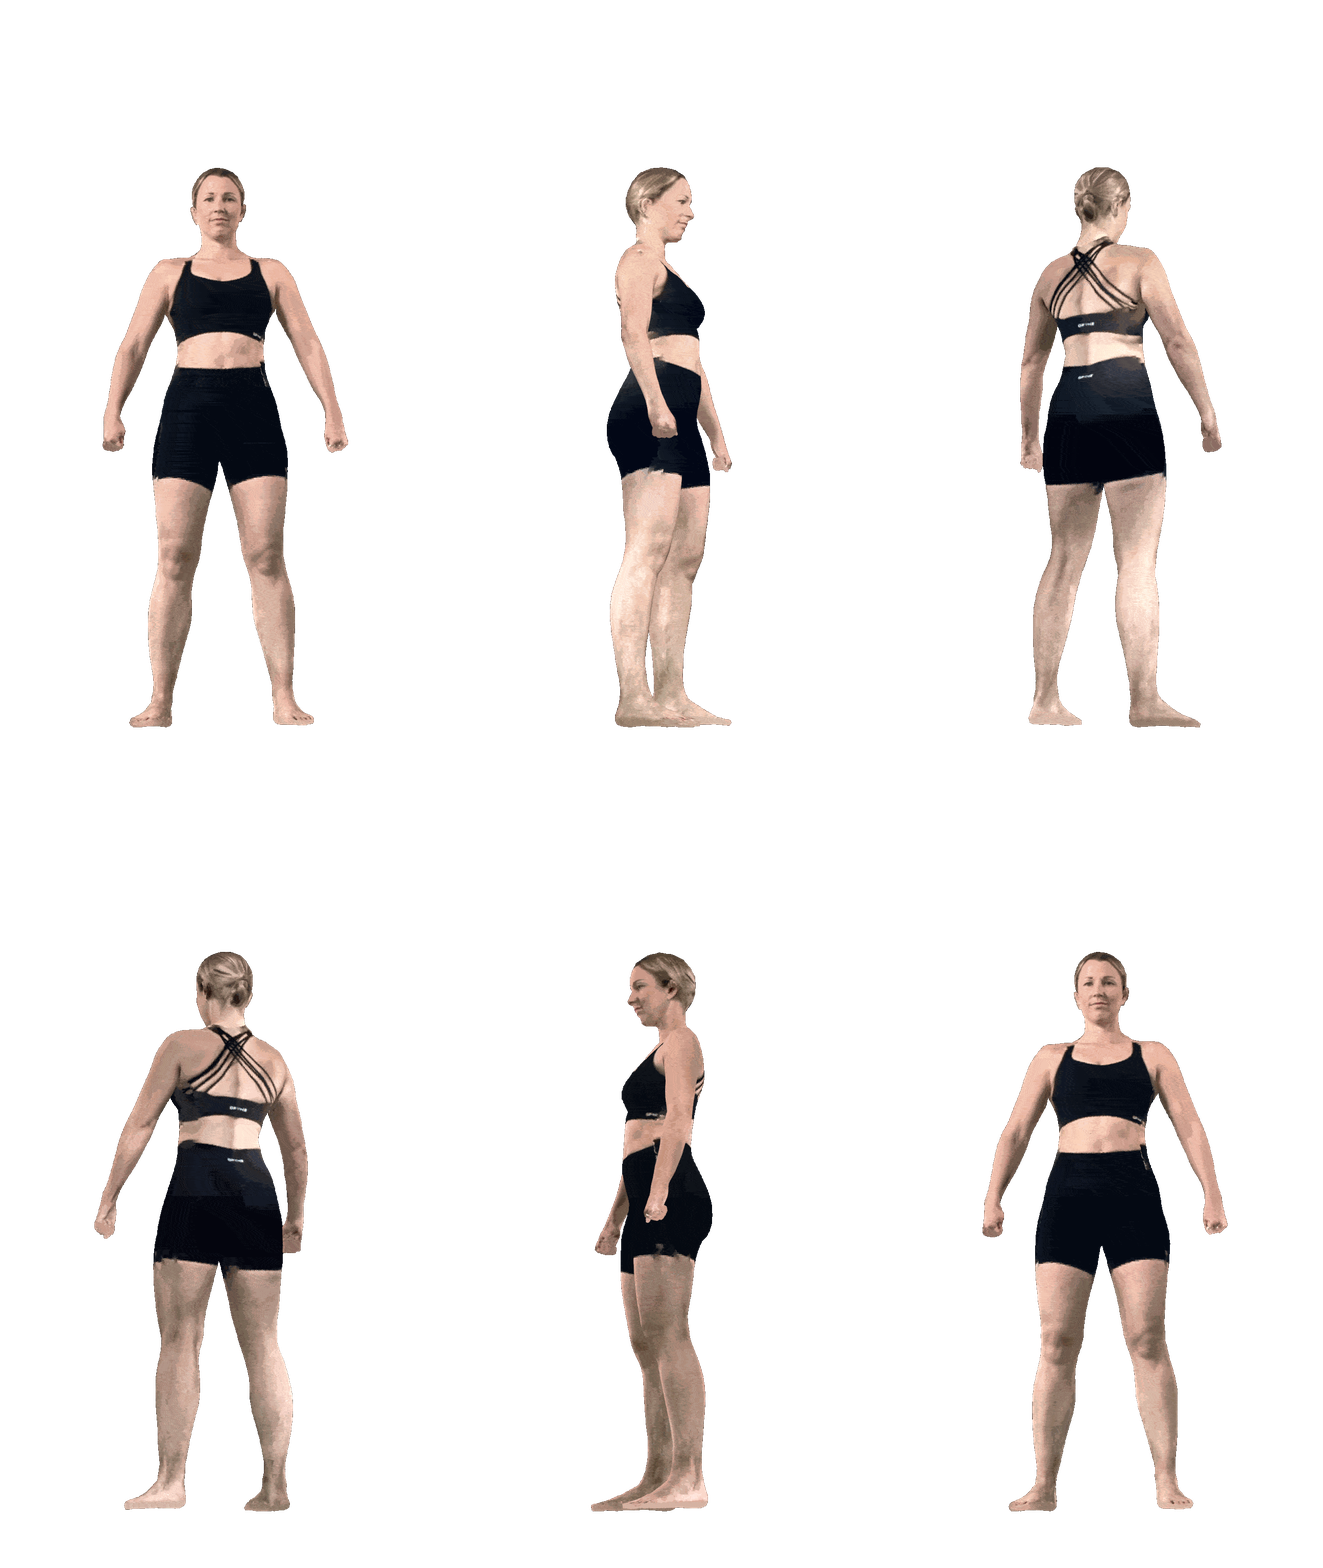
Open a Ready scan to view the rendered 3D avatar and body composition results. Comparison requires two Ready scans for the same participant.

  1. Open a scan marked Ready.
  2. Review the 3D avatar and the available Scan Details, Body Composition, and Measurements.
  3. Choose Compare Scan to review change between two Ready scans.
  4. Select the source visit and target visit, then review the two assessments side by side.

Measurements are grouped into Torso, Arms, and Legs. Comparison lists values and their calculated change between two Ready scans.
Scan DetailsCompare Scan
Rendered 3D body avatar rotating against a dark background
Example values
Body fat27.8%
Waist31.6 in
Hips40.2 in
Chest36.8 in
Scan Comparison
Example values
Select Source Scan Aug 21, 2026 ›
Select Target Scan Sep 18, 2026 ›
Rendered 3D avatar for the source scan
Source
Aug 21, 2026
Rendered 3D avatar for the target scan
Target
Sep 18, 2026
Body Fat 29.1% → 27.8% −1.3 pts

08 · Settings and sign out

Confirm units and the required scan configuration.

Open Settings from the gear icon. Choose Metric or Imperial for display, and always use the required Research App scan configuration below.

  1. Use Metric or Imperial for measurement display.
  2. Always use Asset Config Id: Obj Texture Based.
  3. Always use Body Fat Method: Coco2.
  4. Choose Done to return to the app.
  5. Use the power icon to sign out when the session is complete.

Required configuration: Obj Texture Based and Coco2.

Participants SettingsDone

Preferences

Unit System Imperial

Scan configuration

Asset Config Id Obj Texture Based ›
Body Fat Method Coco2 ›